Are you tired of spending money on face creams that promise the world but don’t deliver? What if you could create your own effective, natural face cream right at home?
Imagine knowing exactly what’s going on your skin and customizing your cream to suit your unique needs. You’ll discover simple DIY face cream recipes that really work—using ingredients you can trust. Ready to take control of your skincare and see real results?
Keep reading, because your best skin is just a recipe away.
Benefits Of Homemade Face Creams
Making your own face cream at home offers more than just a fun DIY project. It gives you control over what touches your skin, which can lead to healthier, happier skin. Plus, it’s a chance to tailor your skincare to exactly what your face needs.
Natural Ingredients And Skin Health
Homemade face creams use natural ingredients you can trust. You avoid harsh chemicals, synthetic fragrances, and preservatives often found in store-bought products. Ingredients like shea butter, coconut oil, and aloe vera nourish your skin gently and effectively.
When I switched to homemade creams, I noticed my skin felt less irritated and more hydrated. Natural oils help repair the skin barrier, reducing dryness and redness. Can you imagine how much better your skin could feel without unnecessary additives?
Cost Savings Compared To Store-bought
Buying quality face creams regularly can add up fast. Making your own cream lets you save money in the long run. Basic ingredients like beeswax, carrier oils, and essential oils are affordable and last through many batches.
Think about this: a single jar of homemade cream can cost you a fraction of a store product with similar benefits. Plus, you won’t waste money buying creams that don’t suit your skin. Wouldn’t saving money while caring for your skin be a win-win?
Customization For Different Skin Types
Your skin is unique, and homemade face creams can be too. You can adjust recipes to suit oily, dry, or sensitive skin by choosing specific oils or adding calming ingredients like chamomile. This level of customization is hard to find in commercial products.
For example, I added jojoba oil to my cream to control oiliness without drying out my skin. You can tweak your recipe as your skin changes through seasons or life stages. How often do you find a product that adapts perfectly to your skin’s needs?

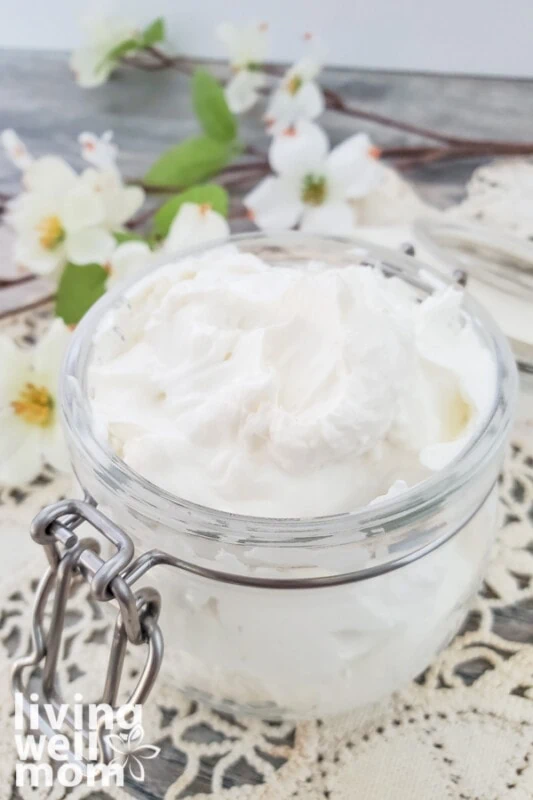
Credit: lovelygreens.com
Essential Ingredients For Diy Creams
Creating your own face cream starts with knowing the right ingredients. These basics help make your cream smooth, nourishing, and gentle on skin. Each component plays a key role in how the cream feels and works. Understanding these ingredients lets you craft a cream suited to your skin’s needs.
Moisturizing Oils And Butters
Oils and butters hydrate and soften the skin deeply. Common oils include jojoba, almond, and coconut oil. They absorb well and provide lasting moisture. Butters like shea and cocoa add richness and thickness. These ingredients help repair dry, flaky skin. They also create a protective layer to keep moisture in.
Natural Emulsifiers And Thickeners
Emulsifiers blend oil and water into a smooth cream. Beeswax and emulsifying wax are popular natural choices. They stop the cream from separating. Thickeners like arrowroot powder or xanthan gum give the cream the right texture. These ingredients ensure your cream spreads easily and feels pleasant on skin.
Skin-soothing Additives
Additives calm and protect sensitive skin. Ingredients like aloe vera gel and chamomile extract soothe irritation. Vitamin E oil works as an antioxidant to heal and protect skin. These natural extras boost your cream’s benefits. They help reduce redness and support healthy skin.
Tools And Equipment Needed
Creating homemade face cream requires some basic tools and equipment. Using the right tools helps mix ingredients smoothly. It also keeps your cream safe and clean. Preparing your workspace and tools is an important first step.
Basic Kitchen Tools
You need simple kitchen tools for making face cream. A small mixing bowl works best for combining ingredients. Use a whisk or spoon to stir the mixture well. Measuring spoons help add exact amounts of oils and butters. A double boiler or heat-safe bowl is useful for melting ingredients safely. Avoid tools made from reactive metals like aluminum.
Storage Containers
Choose clean containers to store your finished cream. Glass jars with tight lids are ideal. They keep the cream fresh and prevent leaks. Small containers work well for daily use. Dark-colored jars protect cream from light damage. Label containers with the date and ingredients used.
Sanitation Tips
Cleanliness is key for homemade skincare. Wash all tools and containers with hot, soapy water. Dry them completely before use. Use rubbing alcohol to sanitize surfaces and utensils. Avoid touching cream with bare hands to prevent contamination. Store cream in a cool, dry place to keep it safe.
Simple Cream Recipes To Try
Creating your own face cream can be simple and fun. These recipes use natural ingredients that nourish your skin. Each recipe targets different skin needs. Try these easy creams to see what works for you.
Hydrating Shea Butter Cream
Shea butter is rich and creamy. It locks in moisture and softens skin. Melt 2 tablespoons of shea butter with 1 tablespoon of coconut oil. Stir well and let cool. Apply to dry skin for deep hydration.
Soothing Aloe And Honey Blend
Aloe soothes irritation and calms redness. Honey adds gentle antibacterial properties. Mix 3 tablespoons of aloe gel with 1 tablespoon of honey. Blend until smooth. Use on sensitive skin to reduce inflammation.
Anti-aging Green Tea Cream
Green tea fights free radicals that cause aging. Brew a strong cup of green tea and let it cool. Mix 2 tablespoons of green tea with 1 tablespoon of almond oil and 1 tablespoon of beeswax. Heat gently until combined. Apply to skin to help reduce wrinkles.
Tips For Customizing Your Cream
Customizing your homemade face cream lets you create a product that suits your skin perfectly. Small changes can make a big difference in texture and benefits. Understanding how to adjust your cream helps you get the best results.
Each skin type needs specific care. Customizing means you can target dryness, oiliness, or sensitivity. You also control the scent and feel of your cream. Experiment carefully to find what works best for you.
Adjusting Consistency
Thicker creams offer more moisture but feel heavier. To make your cream thicker, add beeswax or shea butter. For a lighter cream, use more liquid oils or aloe vera gel. Stir well to blend ingredients smoothly. Check the texture often while mixing. Stop when it feels just right on your skin.
Adding Essential Oils Safely
Essential oils add fragrance and skin benefits. Use only a few drops in your cream. Too much can cause irritation or allergic reactions. Always do a patch test on your skin first. Choose oils like lavender or chamomile for gentle effects. Avoid citrus oils if you plan to be in the sun. Keep essential oils below 1% of your total cream volume.
Tailoring For Oily Or Dry Skin
Oily skin needs light, non-greasy creams. Use oils like jojoba or grapeseed that balance oil production. Avoid heavy butters and waxes. Dry skin loves rich, creamy textures with nourishing oils. Add avocado or coconut oil for deep hydration. Include ingredients like vitamin E to help skin repair. Adjust ingredients based on how your skin feels after use.
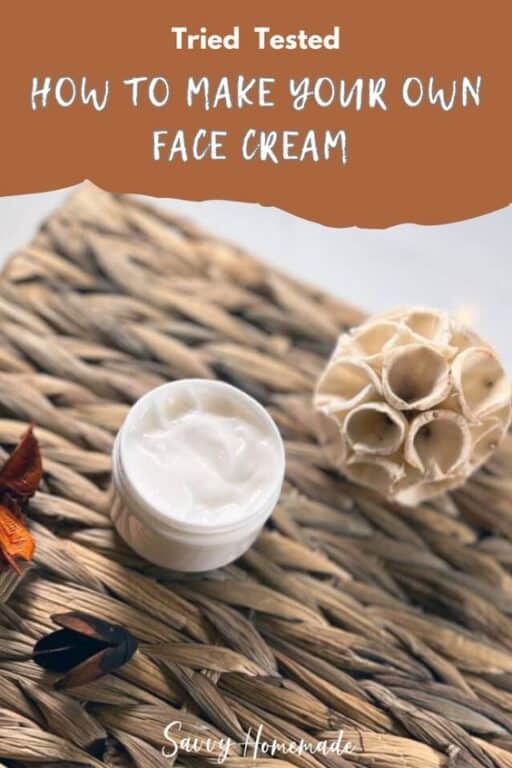
Credit: www.savvyhomemade.com
Storage And Shelf Life
Proper storage is key for homemade face creams. It keeps the cream fresh and safe to use. Knowing how to store your cream can help it last longer. This section covers the best containers, signs of expiration, and ways to extend shelf life naturally.
Best Containers For Preservation
Choose containers that keep air and light out. Dark glass jars are ideal. They protect the cream from sunlight. Air-tight lids prevent bacteria and mold. Avoid plastic containers that can react with oils. Small containers help avoid contamination from repeated opening.
Signs Your Cream Has Expired
Look for changes in smell, color, or texture. A sour or unusual smell means it’s spoiled. If the cream separates or becomes watery, do not use it. Mold or discoloration also show it has gone bad. Always test a small amount before applying it to skin.
Extending Shelf Life Naturally
Add natural preservatives like vitamin E or rosemary extract. Store creams in a cool, dark place. Avoid moisture by using clean, dry hands or a spatula. Keep creams away from heat and sunlight. Making small batches helps use them before they expire.
Common Mistakes To Avoid
Making your own face cream at home is fun and rewarding. Yet, some mistakes can spoil your efforts. Avoiding these common errors helps you create safe and effective creams. Here are key mistakes many beginners make.
Incorrect Ingredient Ratios
Using wrong amounts of ingredients affects the cream’s texture and effectiveness. Too much oil makes the cream greasy. Too little oil results in dryness. Balance is key for smooth, moisturizing cream. Follow recipes carefully and measure ingredients precisely.
Skipping Patch Tests
Patch tests prevent allergic reactions. Apply a small amount of cream on your skin first. Wait 24 hours to check for redness or irritation. Skipping this step can cause rashes or discomfort. Always test before using the cream on your face.
Poor Hygiene Practices
Cleanliness is vital when making face cream. Dirty tools or containers lead to contamination. This can cause skin infections or spoil the cream quickly. Wash hands and sterilize all equipment before starting. Store cream in clean, airtight containers.
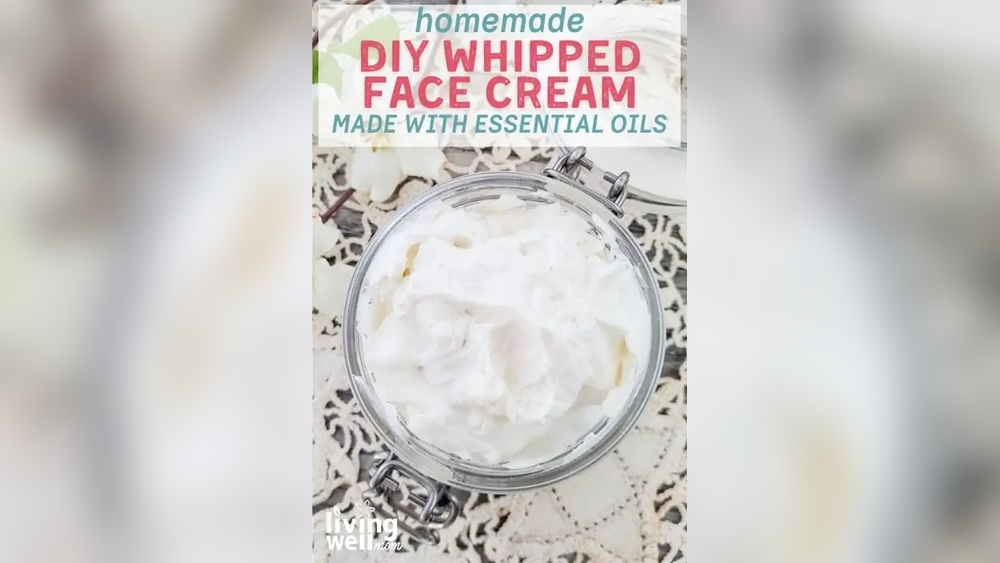
Credit: livingwellmom.com
Enhancing Your Routine With Diy Skincare
Enhancing your skincare routine with DIY face creams brings fresh benefits. Homemade creams let you control ingredients. This helps avoid harsh chemicals found in many store products. You can mix natural oils, butters, and extracts to suit your skin type.
Using DIY creams alongside other skincare steps improves results. Consistency matters. Small daily habits keep skin healthy and glowing. Understanding how creams work with serums and masks creates a balanced routine.
Combining Creams With Serums
Serums contain active ingredients in a light form. Applying serum before your cream helps skin absorb nutrients better. Serums target specific concerns like wrinkles or dryness. Your DIY cream then locks in moisture and seals the serum’s benefits. This layering makes your skin routine more effective.
Incorporating Face Masks
Face masks give your skin a deep boost. Use masks once or twice a week. Choose masks that match your skin needs, such as hydrating or detoxifying. After rinsing, apply your DIY cream to keep skin soft and nourished. Masks prepare skin to soak up creams and serums well.
Daily Skin Care Habits
Simple daily habits improve skin health. Wash your face gently twice a day. Avoid hot water and harsh soaps. Apply your DIY cream on clean skin to lock in moisture. Drink water and eat balanced meals for a glowing complexion. Rest well to help skin repair itself overnight.
Frequently Asked Questions
What Ingredients Are Best For Homemade Face Creams?
Natural oils like coconut, jojoba, and almond are excellent. Shea butter and beeswax add moisture and texture. Essential oils provide fragrance and skin benefits. Choose ingredients based on your skin type for best results.
How Long Do Diy Face Creams Last?
Homemade face creams typically last 1 to 2 weeks. Store in a cool, dark place to extend freshness. Avoid water contamination to prevent spoilage. Always check for changes in smell or texture before use.
Can Diy Face Creams Help With Dry Skin?
Yes, DIY creams with moisturizing oils and butters deeply hydrate dry skin. Ingredients like shea butter and coconut oil nourish and lock in moisture. Regular use improves skin softness and reduces flakiness naturally.
Are Homemade Face Creams Safe For Sensitive Skin?
Homemade creams are generally safe if you use gentle, natural ingredients. Avoid harsh chemicals, fragrances, and allergens. Always patch test a small area before full application to prevent irritation or allergic reactions.
Conclusion
Making your own face cream lets you control what touches your skin. These recipes use simple, natural ingredients you can find easily. You save money and avoid harsh chemicals found in many store products. Plus, you can adjust each recipe to fit your skin’s needs.
Try these homemade creams and feel the difference yourself. Your skin will thank you for the extra care and attention. Give it a go, and enjoy healthier, softer skin every day.